When a friend of mine has a birthday, my first thought is generally not "What can I buy them?" but "What can I bake them?" I'm a firm believer in edible, preferably baked, presents, mainly because I have a lot of friends who I don't know well enough to get them that perfect, "oh my goodness this is so me" present, and therefore it would just be a waste of money getting them something that they'll end up putting in a drawer and never looking at again.
Actually, that's a load of rubbish. My main reason is entirely selfish: it gives me an excuse to hone my baking skills.
So, when a friend of mine announced that he was turning 23, I started thinking of witty and amusing themed cakes I could make. Unfortunately, all the ones I came up with were a bit too complicated, and I knew if I attempted them they'd turn out mediocre and no one would be able to tell what they were meant to be, which would have just been embarrassing for everyone. I was about to settle for my failsafe option, a chocolate fudge cake, when said friend's girlfriend, having seen my recent pineapple and coconut cheesecake, was reminded that "he loves pineapple". Done.
I decided to make a layer cake, mainly because I've never made one before and because they look impressive, and also because a single cake would have been too small. Initially I planned to sandwich the cakes together with coconut buttercream, but then I had a better idea. Pineapple curd. I have no idea where this came from; it literally popped into my head when I was doing something completely different, like making tea or writing an essay. I had no idea if it was even possible to create pineapple curd, but surely it couldn't be that different from lemon curd: juice, eggs, sugar.
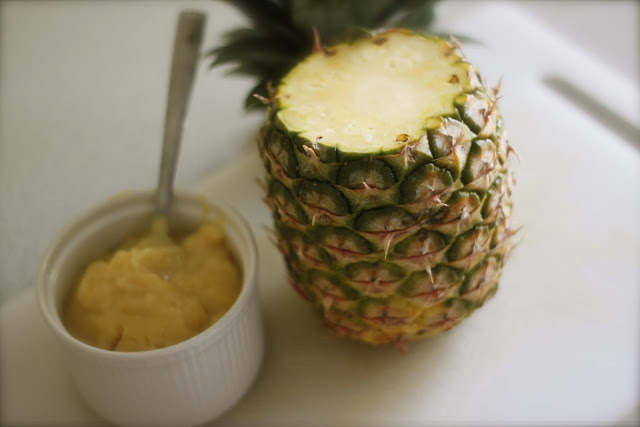
A trip to the supermarket and a lazy ten minutes of stirring later, and I had a saucepan full of gorgeous, thick, sugary pineapple paste. I used bottled pineapple juice, so it didn't have a hugely strong pineapple flavour; if I were to make it again, I'd use the juice from a fresh pineapple. Like creme patisserie, the curd took me by surprise; I was stirring away at a big vat of juice, and then in literally seconds it thickened to dolloping consistency. Immensely satisfying. You can tell when it's about to turn, because scraping a spoon round the bottom edge of the pan results in a big lump of mixture on the end of it, and then suddenly the rest kind of congeals around it. Like I said, immensely satisfying.

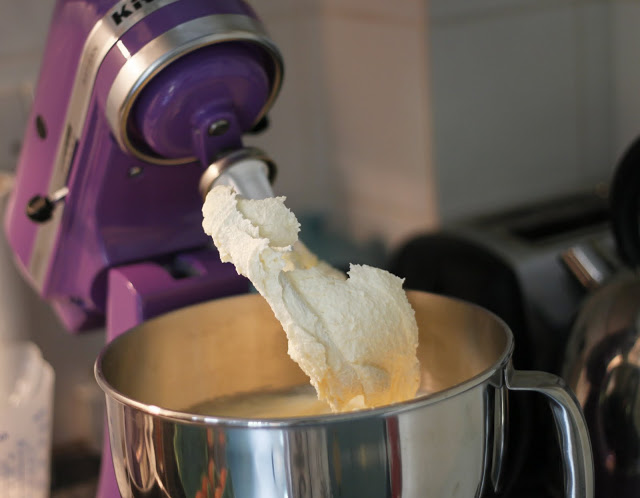
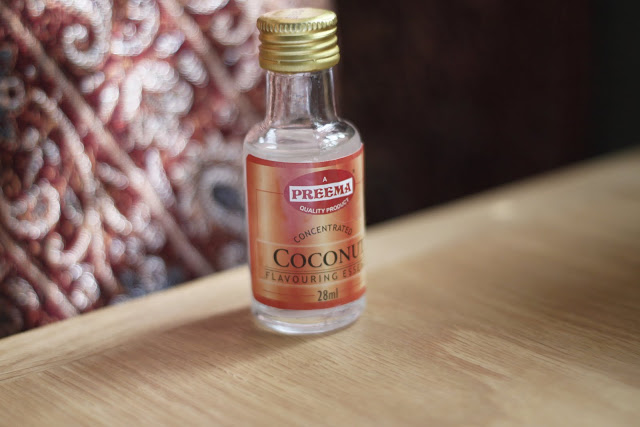
For the cake, I made a coconut sponge based on a Nigella recipe. It uses desiccated coconut soaked in boiling water, which gives the cake a lovely moistness and crunchiness. However, I went one step better, and used my super-potent coconut essence. I was worried I'd overdone it, actually, as the kitchen was immediately filled with the smell, but it turned out just perfect. Naturally, the KitchenAid mixer was integral in creating a beautifully light cake batter.
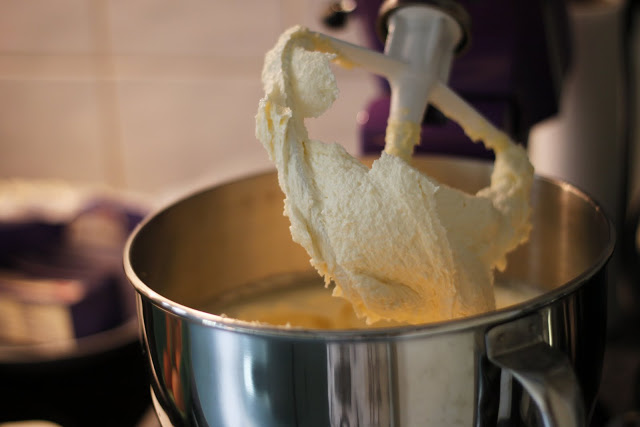
I creamed together the butter (two whole packets...) and sugar, added the eggs (eight!), flour, coconut essence, baking powder, and finally the soaked coconut. It was a wonderful fluffy white mixture, whiter than any I've made before: I think it might be because instead of having to painstakingly mix the butter and sugar by hand, and get bored after a minute or so, I could just leave the mixer to do it, so it looked almost like meringue by the time I added the dry ingredients.
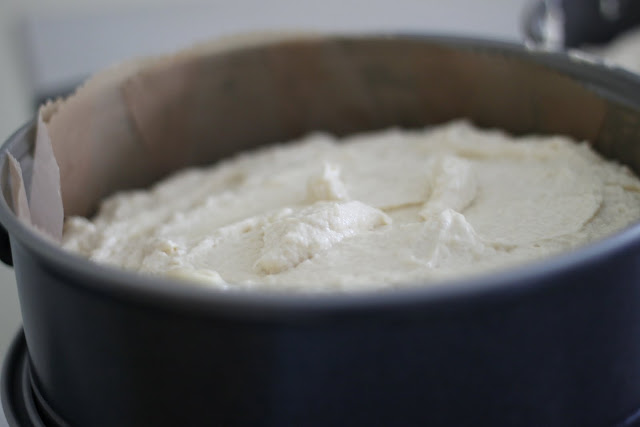
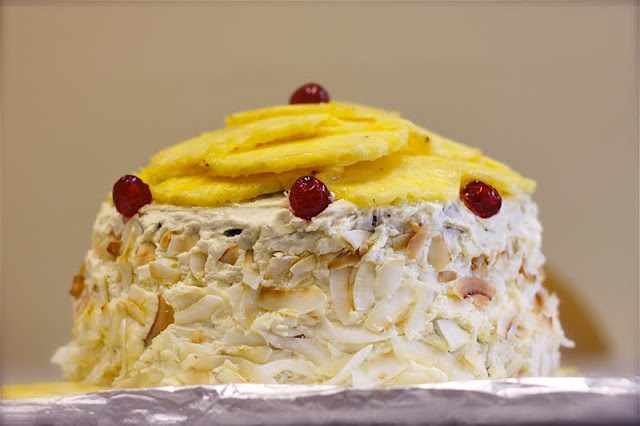
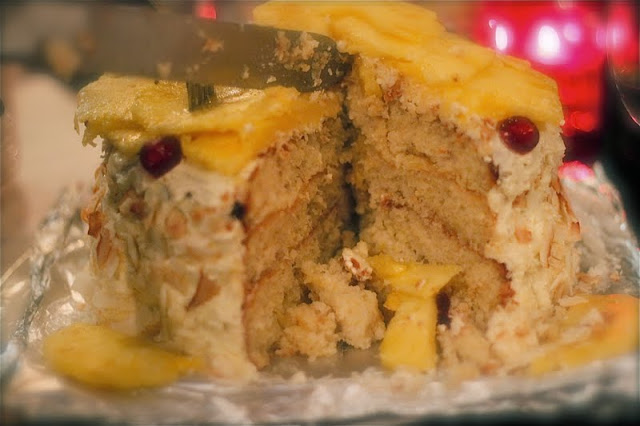
I baked the cake in two separate springform tins. One was 22cm and the other 20cm, which accounts for the dome-shaped end result. I don't have two matching tins. The smell wafting from the baking coconut was truly wonderful. After they'd cooled, I sliced them in half using a nifty device that my mum gave me for Christmas. It's like a cheese wire, but for cutting cakes in half - no faffing around with a big knife leaving an uneven result. It's even adjustable to suit cakes of different heights. Thank you, mum. I may have laughed at the apparent gimmickery of such a gadget, but I have eaten my words (and the uniformly sliced cake layers).
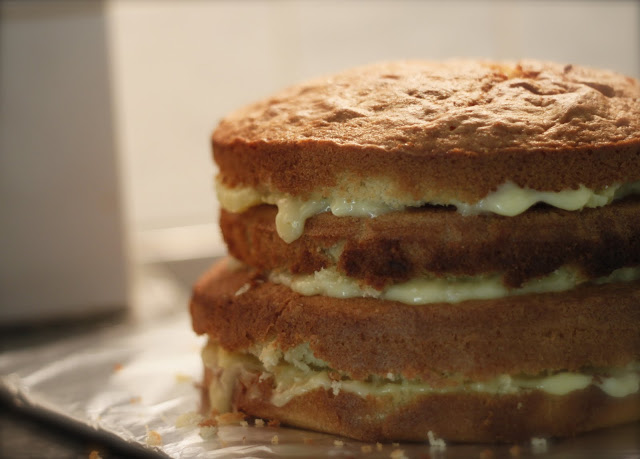
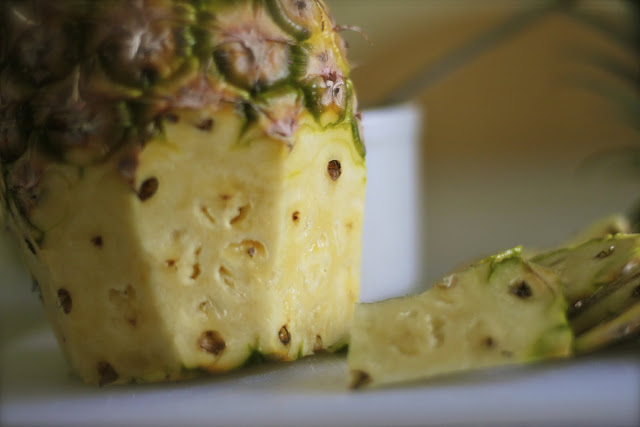
After spreading each layer with pineapple curd, I decided to add even more pineapple flavour by putting some thinly sliced pineapple slices on top of the curd. I didn't bother removing the tough core; if you slice pineapple thinly enough, it's just crunchy rather than tough and sinewy. I thought it would create a nice contrast in textures between the soft, buttery sponge and the tangy fruit.
Then for the part I had looked forward to most: smothering the entire creation in a thick coating of snow-white, coconut-laced buttercream. Again I used the KitchenAid to whip the butter (another packet...) and icing sugar together to form a fluffy, cloud-like mixture to which I added some more coconut essence and some desiccated coconut. I covered a spatula in it, and slathered it onto the cake. Slather is the appropriate word; a lot of buttercream went onto that sponge. I admit, I nibbled a bit to check the right ratio of butter to sugar, and coconut taste. And I may have licked the spatula clean. And the bowl. And the mixer attachment. KitchenAid are so considerate in providing you with a large surface area to lick clean.
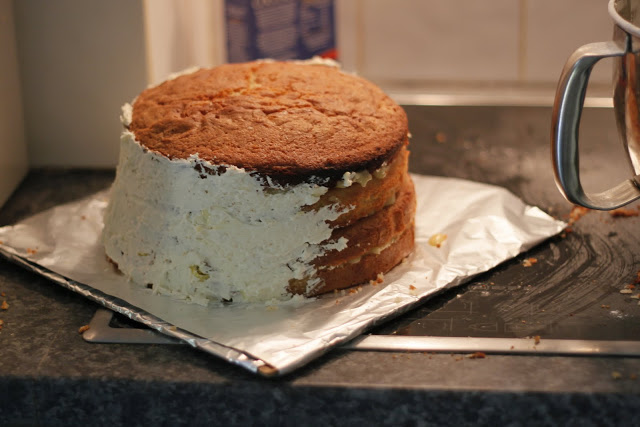
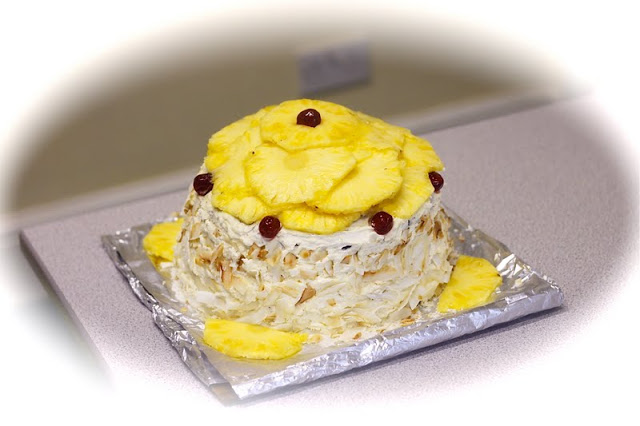
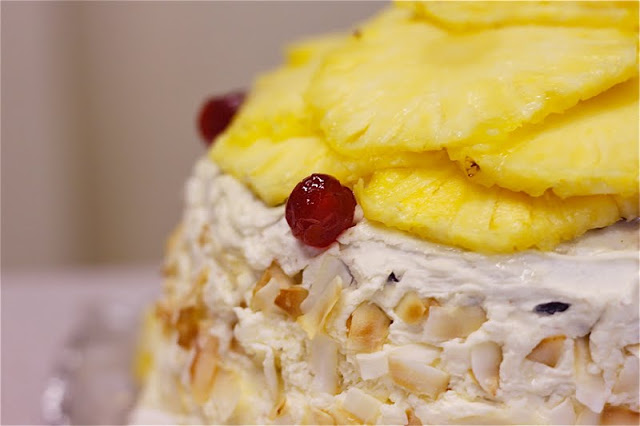
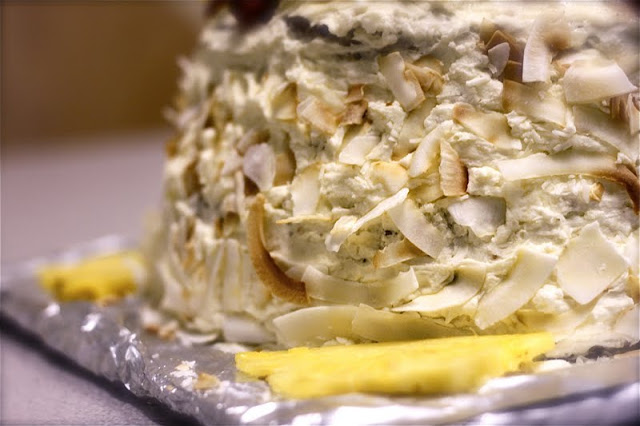
It didn't quite look right when I'd finished. I'm not sure why, but it wasn't as I'd envisaged. I think it just looked too perfectly white and uniform. For this reason, I toasted some shredded coconut strips in a dry pan and pressed them into the buttercream around the sides. They looked great, especially the lightly browned bits, which stood out against the snow white cream. I also figured they'd give a nice crunch to the cake, along with the fruit inside.

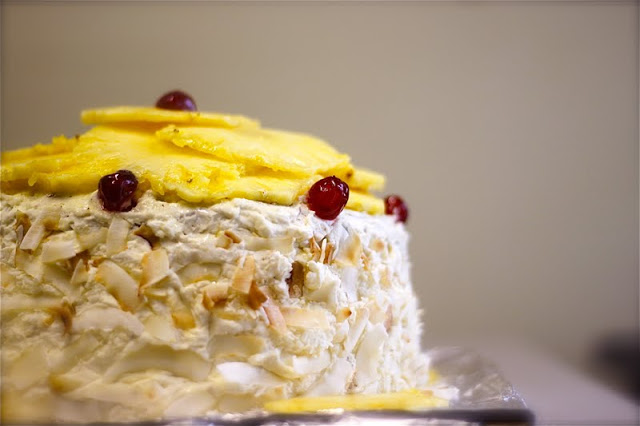
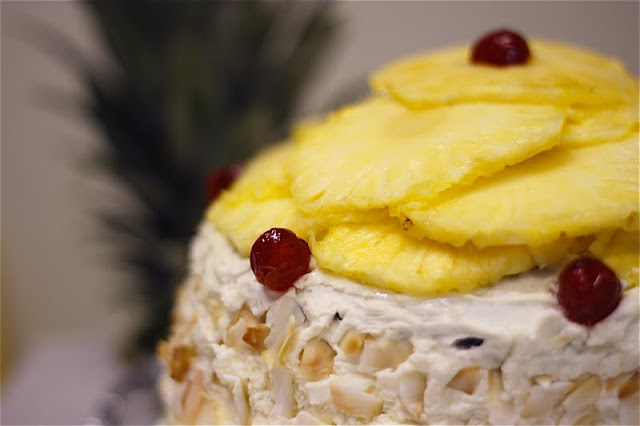
Finally, the topping. I kept it simple, just covering the top of the cake with slices of fresh pineapple, and a few glace cherries. I'm not sure why; I think it's because traditionally pineapple upside down cake has glace cherries inside the pineapple rings. I used to make it a lot as a child, and maybe the association stuck in my mind. I think they look great; they add a startling burst of glistening colour to what is otherwise a rather pale cake. They also make it look like something from a 70s dessert trolley, which I think is fantastic. It's reminiscent of some sort of blancmange, or over-the-top gateau. There's definitely a retro feel to this cake. I didn't imagine there would be; it looked very different in my head, but I am so pleased with how it turned out. It has quite a wow factor, largely because of its enormity, but also because it looks different. Unusual. Tropical.
Obviously, taste is the important part. I initially declared to everyone at dinner that I wasn't going to have any of the cake, because I'd seen how much butter and sugar went into it. But curiosity got the better of me, and I wanted to check that it was at least edible, and that I hadn't presented my friend with something likely to put him off his favourite fruit for the rest of his life. Unfortunately, this was my downfall. It was so. good. Even if I say so myself. The cake was as light as a feather, and the sweet, tangy pineapple filling a perfect accompaniment. The teeth-hurting sweetness of the coconut cream finished the whole thing off, particularly the crunchy coconut pieces.
Plus, it's deceptively simple to make, as long as you start early on the in day, or the day before. If you have a KitchenAid mixer (you lucky thing, you), you can let it do most of the work for you; leave it whirring away mixing the butter and sugar while you sort out weighing the other ingredients, or chopping the pineapple. The assembly part is probably the trickiest, but smothering on the buttercream is your reward. As is, of course, eating some of the cake.
For the pineapple curd:
2 whole eggs and 2 egg yolks
500ml pineapple juice
170g caster sugar
10 tbsp flour
For the cakes (recipe adapted from Nigella Lawson's How to be a Domestic Goddess):
450g butter, at room temperature
450g caster sugar
8 eggs
1 tsp coconut essence (or vanilla extract)
400g self-raising flour
1 1/2 tsp arrowroot (or 50g cornflour)
1 tsp baking powder
100g desiccated coconut, soaked for an hour in 300ml boiling water
For the buttercream:
50g desiccated coconut
150g soft butter
300g icing sugar
1 tsp coconut essence (or 2 tbsp Malibu)
For decorating:
1 fresh pineapple, skin and 'eyes' sliced off and cut into thin slices
A large handful of flaked coconut, toasted in a dry pan
Glace cherries
First, make the pineapple curd. Whisk the yolks and sugar until thick and creamy, then whisk in the juice and flour. Transfer to a saucepan and heat over a medium heat, stirring constantly, until thick - this will take about 10 minutes, and it will turn suddenly. Don't get impatient and turn the heat up too high. Transfer to a bowl and chill in the fridge.
Pre-heat the oven to 180C.
For the cakes, cream together the butter and sugar until pale and fluffy. Add the eggs, one at a time, then add the essence. Fold in the flour, arrowroot/cornflour and baking powder, then stir in the coconut and its soaking water. Pour into two 20cm springform cake tins, greased and lined. Bake for 40 minutes, until golden brown. Leave to cool completely.
Slice each cake in half horizontally and sandwich together with the pineapple curd. Add some pineapple slices between each layer if you like. You'll probably have some pineapple curd left over; it's good on toast.
For the buttercream, whisk together the butter and icing sugar until white and fluffy, then stir in the coconut essence/Malibu and desiccated coconut. Using a spatula, spread the buttercream all over the cake in a thick layer. Don't worry too much about the top, as you'll cover it with fresh pineapple anyway. While the cream is still soft, press the flaked coconut into the sides of the cake.
Finally, decorate the top of the cake with slices of fresh pineapple and glace cherries. Do this at the last minute, as the pineapple might make the buttercream soggy.