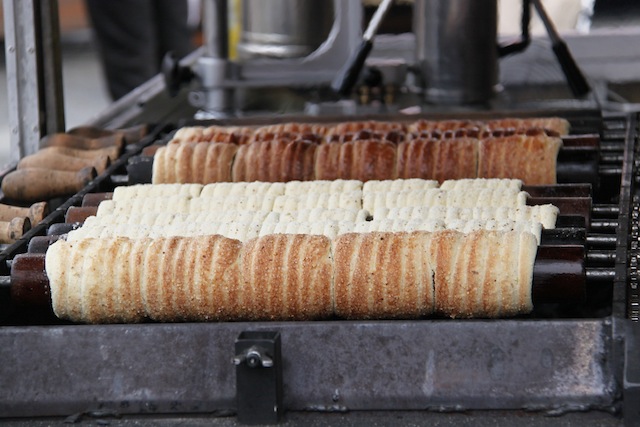
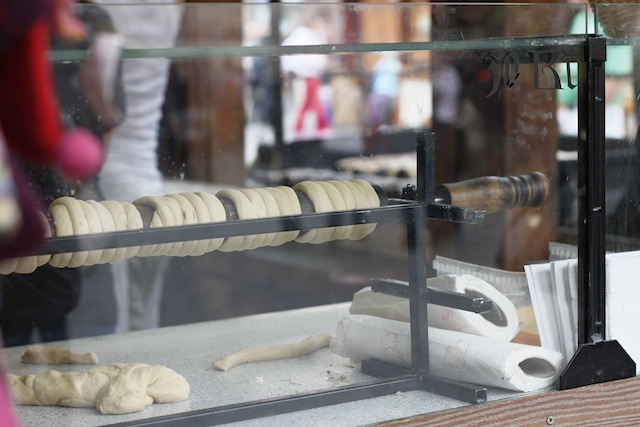
I mentioned in my recent post about my trip to Prague the discovery of bublanina, or Czech 'bubble cake'. I also mentioned that it was a bit of a revelation for me, in that it made me realise that it is possible, against all popular culinary advice, to cook a strawberry. The strawberries I unearthed in that beautiful sponge were not the sad, flaccid specimens that such advice would have taught me to expect, but rather a gorgeous juicy surprise with a flavour reminiscent of strawberry jam. For this reason, I was inspired to update my favourite Sunday brunch dish, pear and hazelnut pancakes, with a summery twist. You can tell it's my favourite, because I've posted about it twice in less than a fortnight.
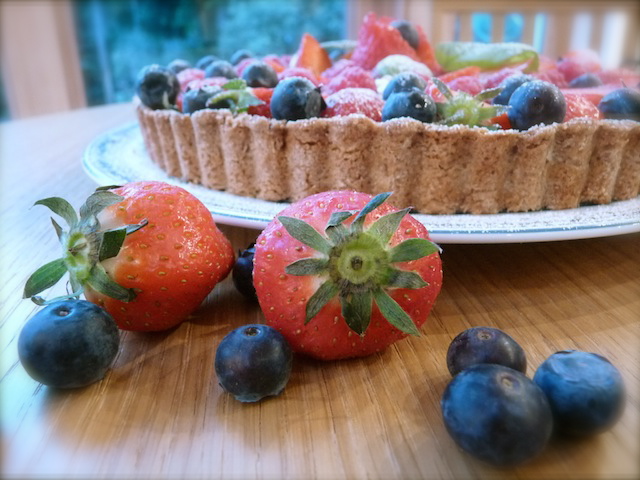
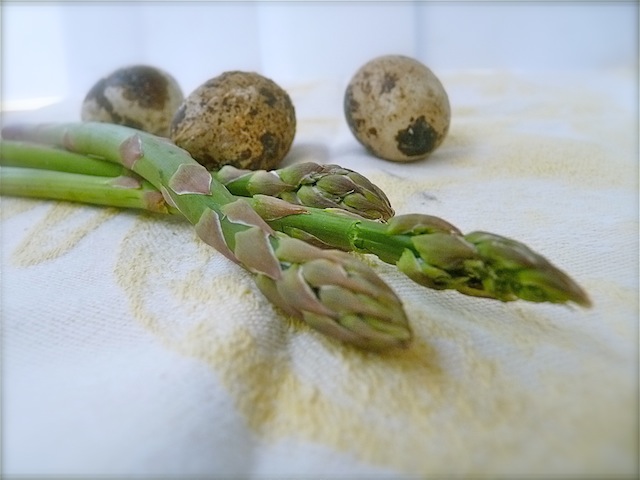
The British strawberry season, much like the British asparagus season, has seemed to begin very early this year. I'm not complaining: there really is no beating a British strawberry. Asparagus I can take or leave, but these scarlet berries have to be British to be truly enjoyable. I sometimes use imported varieties outside this season, but they always have to be dolled up with a little sugar, lemon juice or balsamic vinegar before being edible, and more often than not they end up in a smoothie with an orange and a little orange flower water, where their tartness is appreciated.

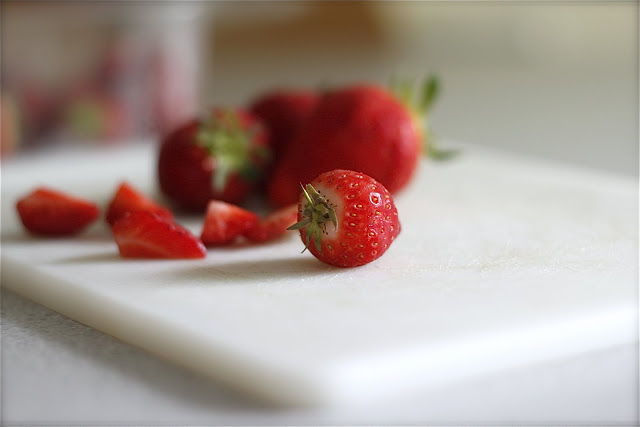
No such tartness in the British berries: only beautiful, sweet, yielding flesh. Their colour is different too: they are much more of an orange red than the purple-blue red you find in Spanish and Moroccan strawberries. In order to showcase their loveliness, I chopped up a few and added them to my usual pancake batter (yoghurt, flour, baking powder, egg and a little milk). I also put in a little vanilla extract, to evoke strawberries and vanilla ice cream (probably one of the most simple but most delicious combinations on the planet).

Still a bit wary of the berries turning to mush in the heat, I threw in some blueberries too. At least I knew these would be excellent in the pancakes, because I've used them before. Also, I figured their tartness would bring out the sweetness of the strawberries, and provide a nice burst of juicy sweet-sour flavour. I also love watching them burst in the pan, oozing their delicious purple juice everywhere. The best part of these pancakes is their unevenness: some will end up with loads of blueberries in, others with hardly any but lots of jammy, strawberry goodness. Either way you're in for a treat.
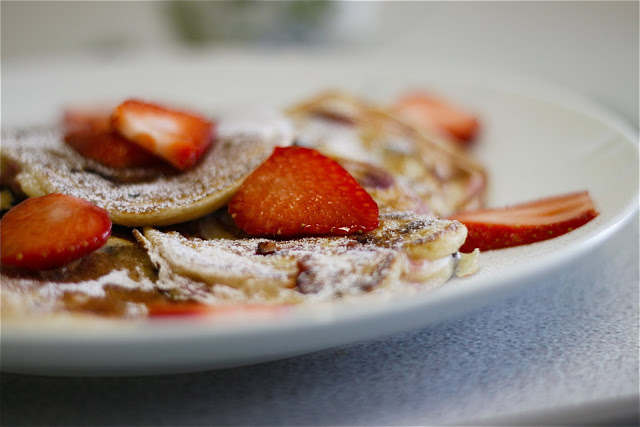
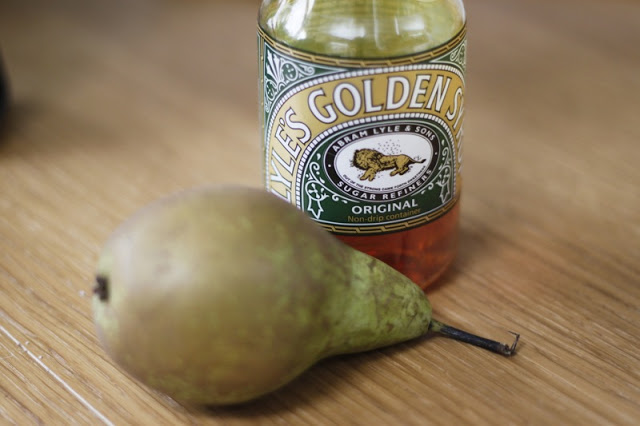
These were unexpectedly delicious. I mean, I expected them to be tasty, but I didn't quite anticipate the way the strawberries softened in the heat, resulting in incredibly moist pancakes. Normally some sort of syrup is an essential addition to the pear variety, because the pears retain their shape and don't emit too much juice. However, you really don't need any with these - I put a little golden syrup on the side of my plate but didn't end up eating it. The strawberries kind of collapse inside the batter, permeating it with their perfumed juice. It's almost like eating plain pancakes with a berry compote.

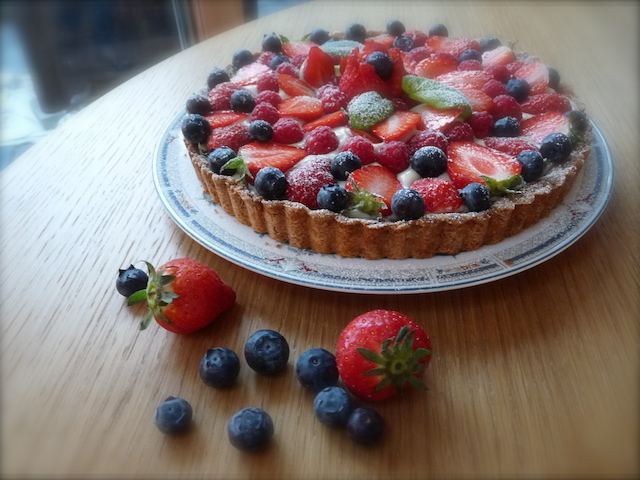
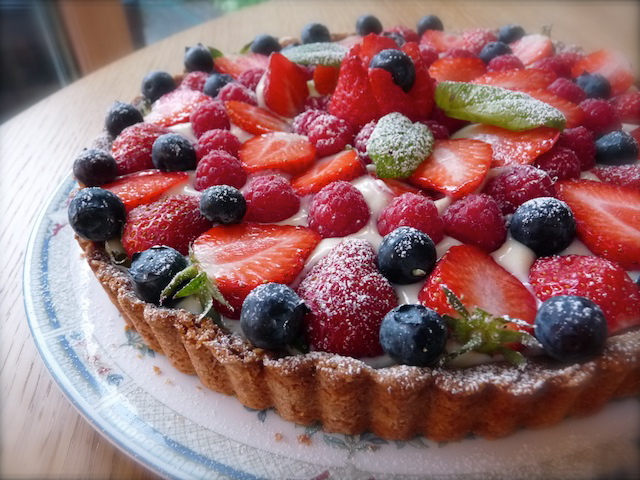
I decorated the plate with some extra whole strawberries, which is both a nice contrast in texture and temperature, and also has the benefit of making the plate look quite healthy. Which, actually, I suppose it is. Not that you need an excuse to make a huge batch of these and gorge yourself on them for brunch, though. A dusting of icing sugar is all you need to complete a perfect breakfast feast, and an ample celebration of the British strawberry season.

Strawberry and blueberry pancakes (serves 2):
- 130g plain flour
- 1 tsp baking powder
- A pinch of salt
- 1 egg
- Plain yoghurt - about 200ml
- Milk
- 1 tsp vanilla extract
- 200g strawberries, finely chopped, plus a few whole to garnish
- 100g blueberries
- Butter
- Icing sugar for dusting
Sift the flour and baking powder into a bowl. Add the salt. Make a well in the middle and add the egg and yoghurt, then combine with an electric whisk. While whisking, add enough milk to make a thick batter - about 4 tbsp. I don't tend to measure the milk and yoghurt, but just do it by instinct - you want the batter to be like thick custard. If it's too runny, just add more flour. Stir in the vanilla extract and berries - be gentle and try not to crush the strawberries.
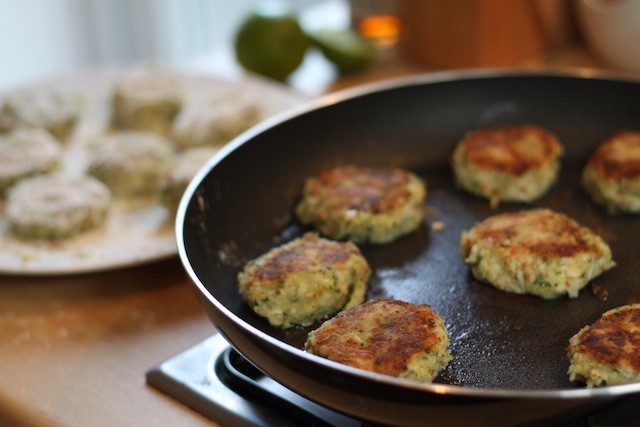
Heat a little butter in a frying pan until sizzling. Drop spoonfuls of the batter into the pan and cook until bubbles appear, then flip over and cook for another couple of minutes. Keep warm in the oven while you use up the rest of the mixture.
Serve garnished with sliced fresh strawberries and dusting of icing sugar. You can add syrup if you like, but I'm not sure they need it.